All the Tools I used!!!!!!!!!!!!
horizontal Type Tool (T)
Gradient Tool (G)
Move Tool (V)
Set The Text Color
Create Warped Text
Drop Shadow
Outer Glow
Bevel and Emboss
Gradient Overlay
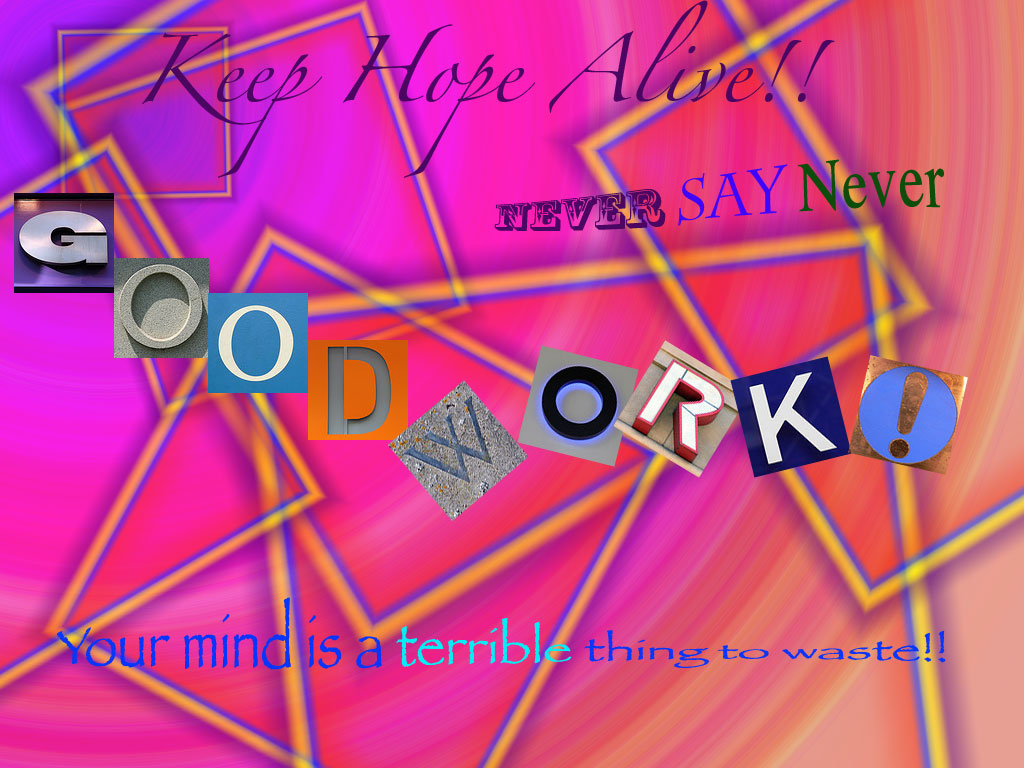
I used the horizontal Type Tool (T) to type my Quotes.
I used the Gradient Tool (G) to make my background.
I used the Move Tool (V) to move my photos and my words.
I used the Set The Text Color to change the color of text.
I used the Create Warped Text to mold and shape my words
I used the Drop Shadow, Outer Glow, Bevel and Emboss, and Gradient Overlay for my different word types.
No this was a hard Assignment and I will like to do it again!!!!!!!!!
All the Tools I used!!!!!!!!!!!!
horizontal Type Tool (T)
Gradient Tool (G)
Move Tool (V)
Set The Text Color
Create Warped Text
Drop Shadow
Outer Glow
Bevel and Emboss
Gradient Overlay
I used the horizontal Type Tool (T) to type my Quotes.
I used the Gradient Tool (G) to make my background.
I used the Move Tool (V) to move my photos and my words.
I used the Set The Text Color to change the color of text.
I used the Create Warped Text to mold and shape my words
I used the Drop Shadow, Outer Glow, Bevel and Emboss, and Gradient Overlay for my different word types.
No this was a hard Assignment and I will like to do it again!!!!!!!!!
posted by Quee-Quee at 11:59 AM
0 comments
![]()